Landing the Dragon in Doom The Dark Ages: 15 Landing Zones
Doom: The Dark Ages lets you ground your dragon at 15 Landing Zones in four chapters, and the two secret ones in The Holy City of Aratum complete Layover for 50 Gold. Six are in Aratum, two in From Beyond, six in Spire of Nerathul, and one in Resurrection.
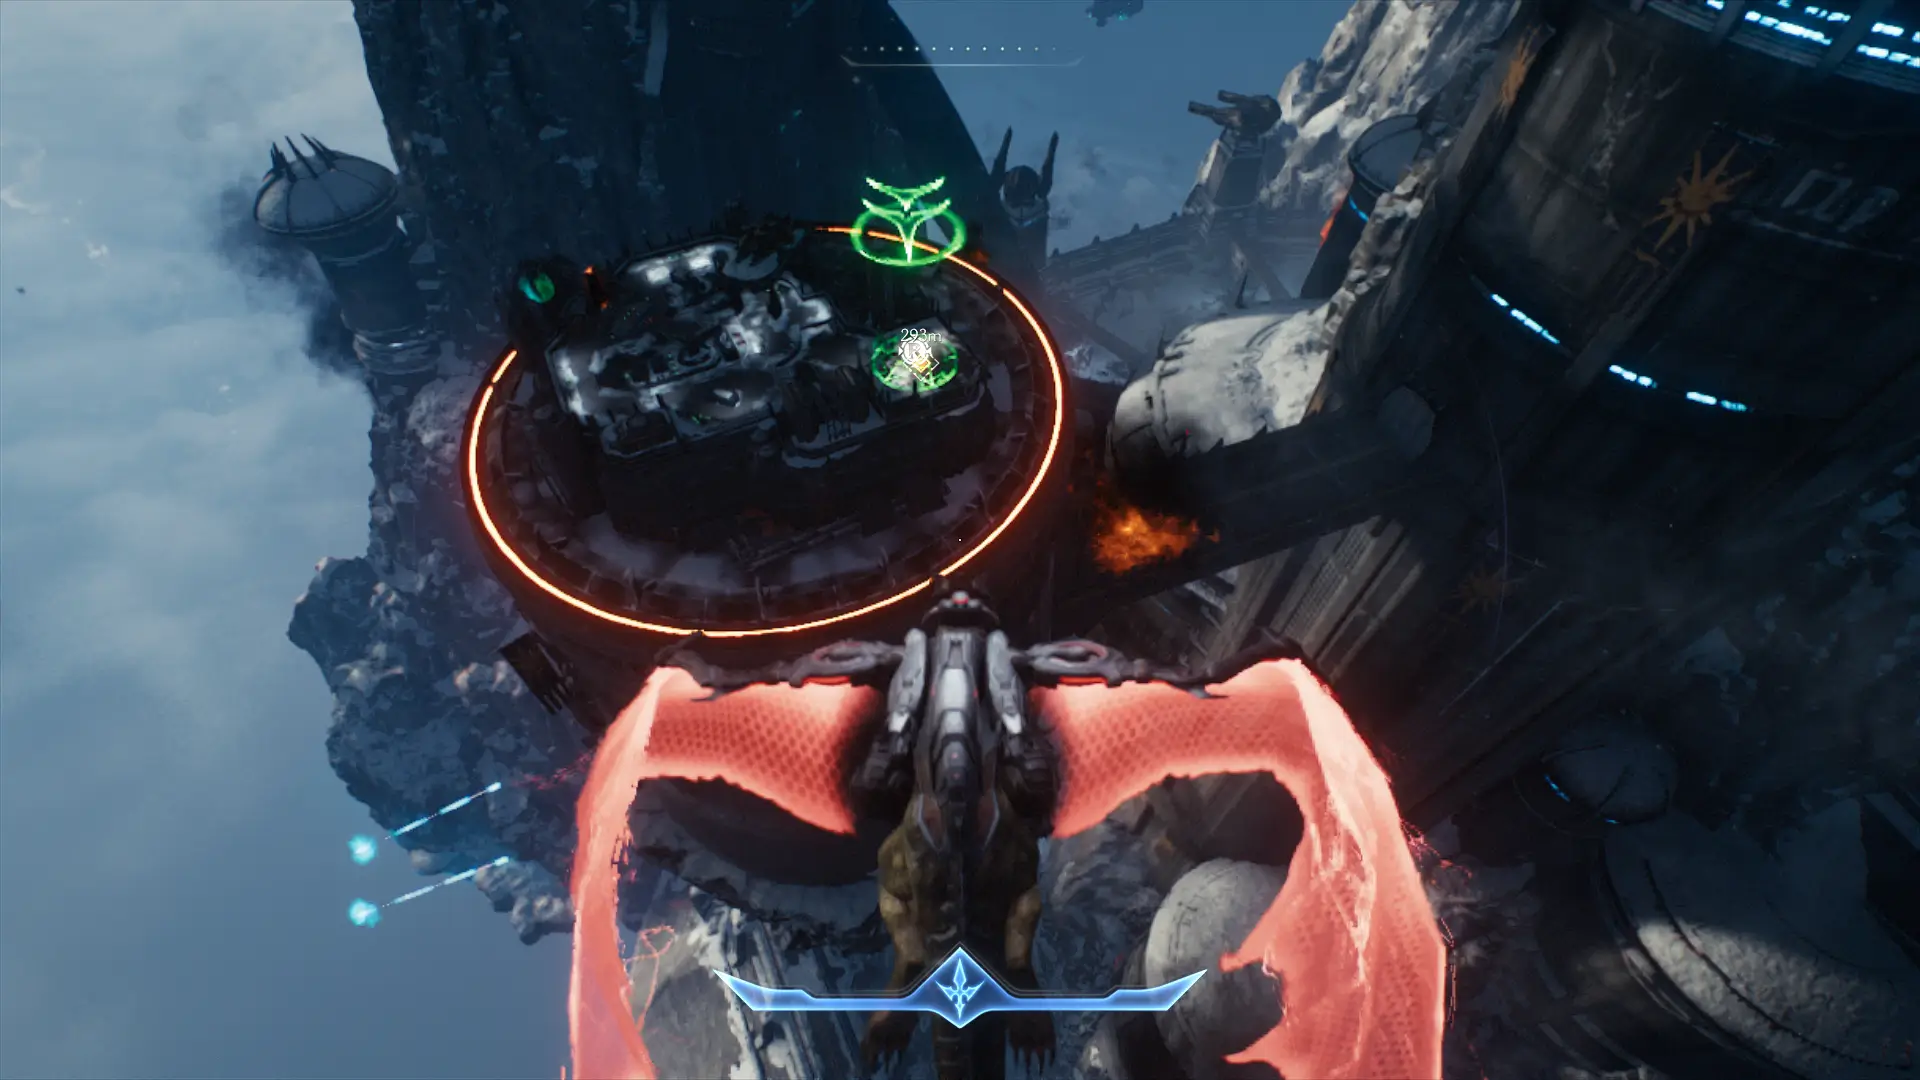
Before you fly, check what each zone needs: the Map Master team wrote the unlock condition into every pin on our Doom The Dark Ages guide hub. A zone only counts once you land and dismount, so circling over it does nothing for Layover.
The Two Secret Doom The Dark Ages Landing Zones for Layover
The first is on Aratum’s western side. Leave the Dragon’s Lair tunnel, fly west and kill the Titan standing on top of a tower, then land. The mounted demon you face after closing that tower’s Demonic Portal drops a Demonic Essence for max health, one of the 32 in our Demonic Essence guide, and a Gold Chest is close by.
For the second, dive into the large well under the central Aratum Tower and kill the two Titans on pedestals at the bottom. The Nightmare Pulverizer skin is down there, and so is the first circle from our Cultist Circle guide, so one landing advances two challenges.
Find both before you push into the mission’s final stage, because the chapter moves on without them and you’d need a replay to come back. Our Holy City of Aratum interactive map has both secret zones, plus the tower and the well you need to clear first.
Hell Carrier Landing Zones Open Once the Turrets Fall
Aratum’s other four zones are tied to its Hell Carriers. On the central, southeastern, and northernmost carriers, destroy the turrets and then land on the deck, while the western town wall asks you to destroy the carrier and land on the tower beside it.
Don’t treat the carrier you explore on foot as a quick stop. Its lowest level has the Deag Loric Codex page and 12 Gold; its last room has a Hell Knight Leader that drops an Ammo Essence, and a Gold Chest waits behind the Weak Wall in its first room, so sweep it before you take off again.
From Beyond’s Doom: The Dark Ages Landing Zones Need a Tentacle Down
Chapter 13 opens its two zones as you work through the main objective. The first appears after you destroy the second tentacle, and the second after the third, though a red barrier blocks it until you shoot down a Hell Fighter Ship.
That ship is one of six in the chapter, and our Hell Fighter Ship locations have the rest. Follow the mission marker on our From Beyond interactive map, and both zones come to you in order, with nothing to search for off the route.
Landing Zones on Spire of Nerathul’s Mountain and Kreed’s Ship
Two of Spire of Nerathul’s zones need work first: one appears on the large mountain after you kill its Titan, and another after you shut down the three Stasis Emitters. Two more follow the mission marker; one is at the bottom center of the map, and the last is at the end of a tunnel whose entrance is next to another zone.
Our Spire of Nerathul interactive map has all six. Resurrection’s single zone, the campaign’s last landing, is on Kreed’s Ship once its cannons are destroyed, and as soon as you land, spin round for the Commander Valen page from our Codex locations.
Planning Your Doom: The Dark Ages Landing Zone Stops
Layover is the only challenge built on landings, so the two Aratum secrets are the zones to plan for, while the rest open as each chapter advances. Resurrection’s landing on Kreed’s Ship also starts the stretch toward Kreed Maykr, which our Resurrection interactive map follows past the Point of No Return.
Do both Aratum secrets on your first flight over the city, and the Health Essence, the Pulverizer skin, and Layover all come in the same trip. Chase the three Hell Fighter Ships on that same flight and visit the Cultist Circle under the tower, and you’ll have three of the chapter’s challenges done before you head for the carriers.
| Name | Map Location | Details | Screenshot | Found |
|---|---|---|---|---|
| Landing ZoneChapter 20: Resurrection | Chapter 20: Resurrection | Found on Kreed's Ship, after destroying the cannons. | ||
| Secret Landing Zone #1Chapter 5: The Holy City of Aratum | Chapter 5: The Holy City of Aratum | Found on the western side of Aratum. After exiting the Dragon's Lair tunnel, fly west and look for a demon on top of a tower. Destroy the Demon, then land your dragon on top of the tower. | ||
| Secret Landing Zone #2Chapter 5: The Holy City of Aratum | Chapter 5: The Holy City of Aratum | Found on the lower level of the central Aratum Tower. Descend to the lowest level and defeat the Titan Demons to clear the Landing Zone. | ||
| Hell Carrier Landing ZoneChapter 5: The Holy City of Aratum | Chapter 5: The Holy City of Aratum | Found on the central Hell Carrier. Destroy the turrets, then land on the carrier. | ||
| Hell Carrier Landing ZoneChapter 5: The Holy City of Aratum | Chapter 5: The Holy City of Aratum | Found on the southeastern Hell Carrier. Destroy the turrets, then land on the carrier. | ||
| Hell Carrier Landing ZoneChapter 5: The Holy City of Aratum | Chapter 5: The Holy City of Aratum | Found on the western town wall. Destroy the carrier, then land on the tower. | ||
| Hell Carrier Landing ZoneChapter 5: The Holy City of Aratum | Chapter 5: The Holy City of Aratum | Found on the northernmost Hell Carrier. Destroy the turrets, then land on the carrier. | ||
| Landing Zone #1Chapter 13: From Beyond | Chapter 13: From Beyond | Found by following the mission marker right after destroying the second tentacle for the main objective. | ||
| Landing Zone #2Chapter 13: From Beyond | Chapter 13: From Beyond | Found by following the mission marker right after destroying the third tentacle for the main objective. You must also destroy a ship to lower the red barrier covering the landing zone. | ||
| Landing ZoneChapter 14: Spire of Nerathul | Chapter 14: Spire of Nerathul | Found on the large mountain on the map. Appears after killing the Titan there. | ||
| Landing ZoneChapter 14: Spire of Nerathul | Chapter 14: Spire of Nerathul | Found at the bottom of the map, in the center. | ||
| Landing ZoneChapter 14: Spire of Nerathul | Chapter 14: Spire of Nerathul | Found by following the mission marker (can't be missed). | ||
| Landing ZoneChapter 14: Spire of Nerathul | Chapter 14: Spire of Nerathul | Found by following the mission marker (can't be missed). | ||
| Landing ZoneChapter 14: Spire of Nerathul | Chapter 14: Spire of Nerathul | Found by following the mission marker after deactivating the 3 Stasis Emitters. | ||
| Landing ZoneChapter 14: Spire of Nerathul | Chapter 14: Spire of Nerathul | At the end of the tunnel with the entrance next to the Landing Zone (on the dragon). |

© MapMaster.io 2024. All rights reserved.